
Installed your self-hosted WordPress blog? Let’s learn how to manage the settings of your WordPress website / blog.
WordPress is the preferred content management system of millions. Around one-third of the websites are powered by WordPress. That’s a whopping number.
Managing WordPress Settings
Installing WordPress on your own hosting gives you the freedom to modify and manage the website (blogs are also a type of website) at your will. In this article, we will familiarize ourselves with the website settings available in WordPress.
General Settings
In the general settings, you define the name and tagline of your blog.
Don’t tinker with the WordPress Address and Site Address options unless you know what you are doing. Normally, both the URLs should be the same as your website address.
When your website is available on both http and https (SSL version), you can change the URLs to the https version if not already. It will make your website available on the secured SSL, and redirect all non-SSL URLs to the secured one. Good for SEO.
Also, the options to set the time zone and define date & time formats.
Don’t allow user registration, and let the default user role to be “subscriber”. If you allow registration, it will result in lots of spam and also make your blog vulnerable to attacks / hacking.
Writing Settings
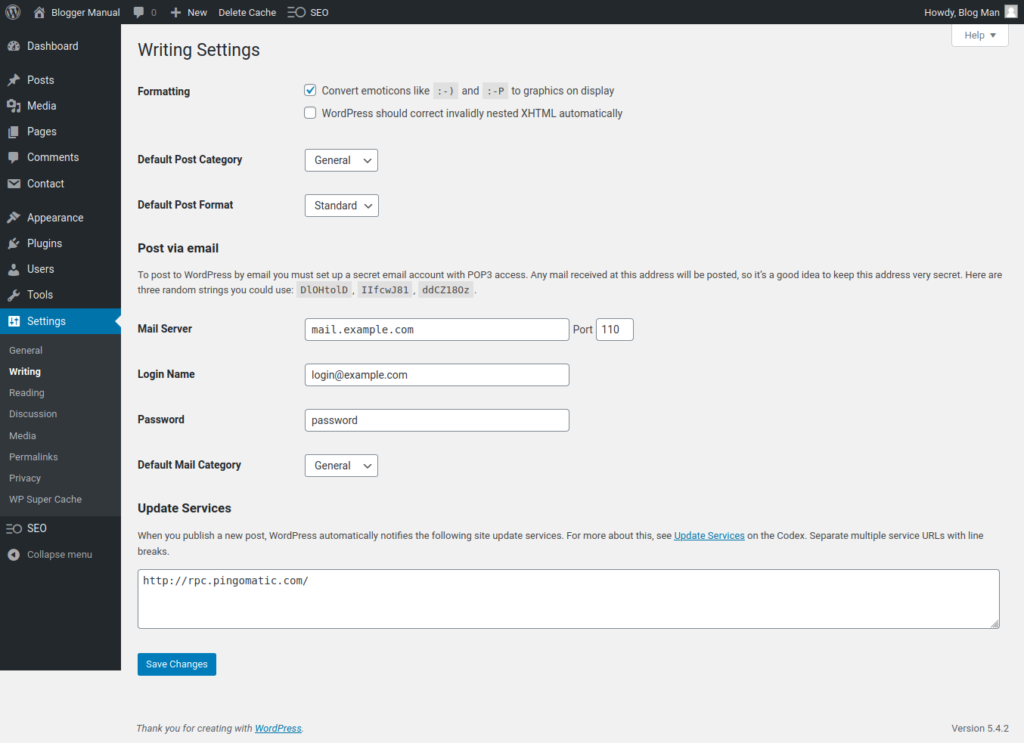
Here you can set the default category for new posts. WordPress uses the “uncategorized” category as the default. You can change it to any other of your choice. Don’t enable “Post via email” to avoid sabotage risk.
Pro Tip: Click on the Posts > Categories menu. Once in the category index page, locate the “Uncategorized” category. Click on the edit link against the category, and change the name and URL slug (eg: General). You just rename the Uncategorized category to something relevant. All your posts without any category will show this category.
Reading Settings
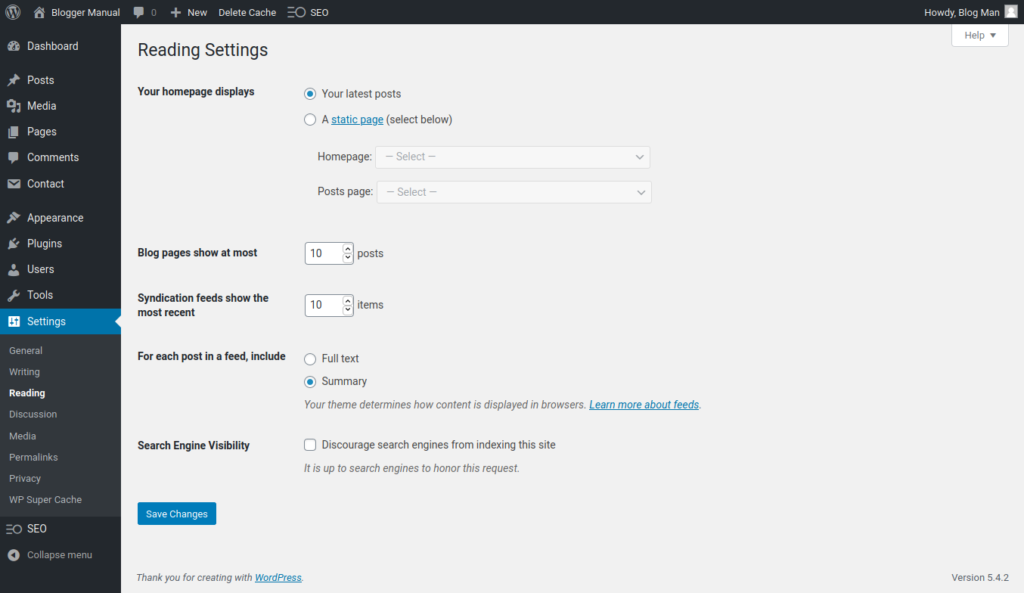
The homepage display setting determines what appears on the main page of the website.
If you want a static content on your homepage, you can change your blog’s homepage to any page. When you set your homepage to a static page, you should set a posts page. Else, your blogposts will not be accessible.
Create a new page, title it as “Blog” (or, may be, “Archives”) and save it without any content. Now, use it as your posts page.
WordPress supports RSS feed system, which is a content distribution method. Set the post feed setting, choose the content as a summary. By default, RSS feed include entire articles, which makes stealing your content and republishing them easier.
Discussion Settings
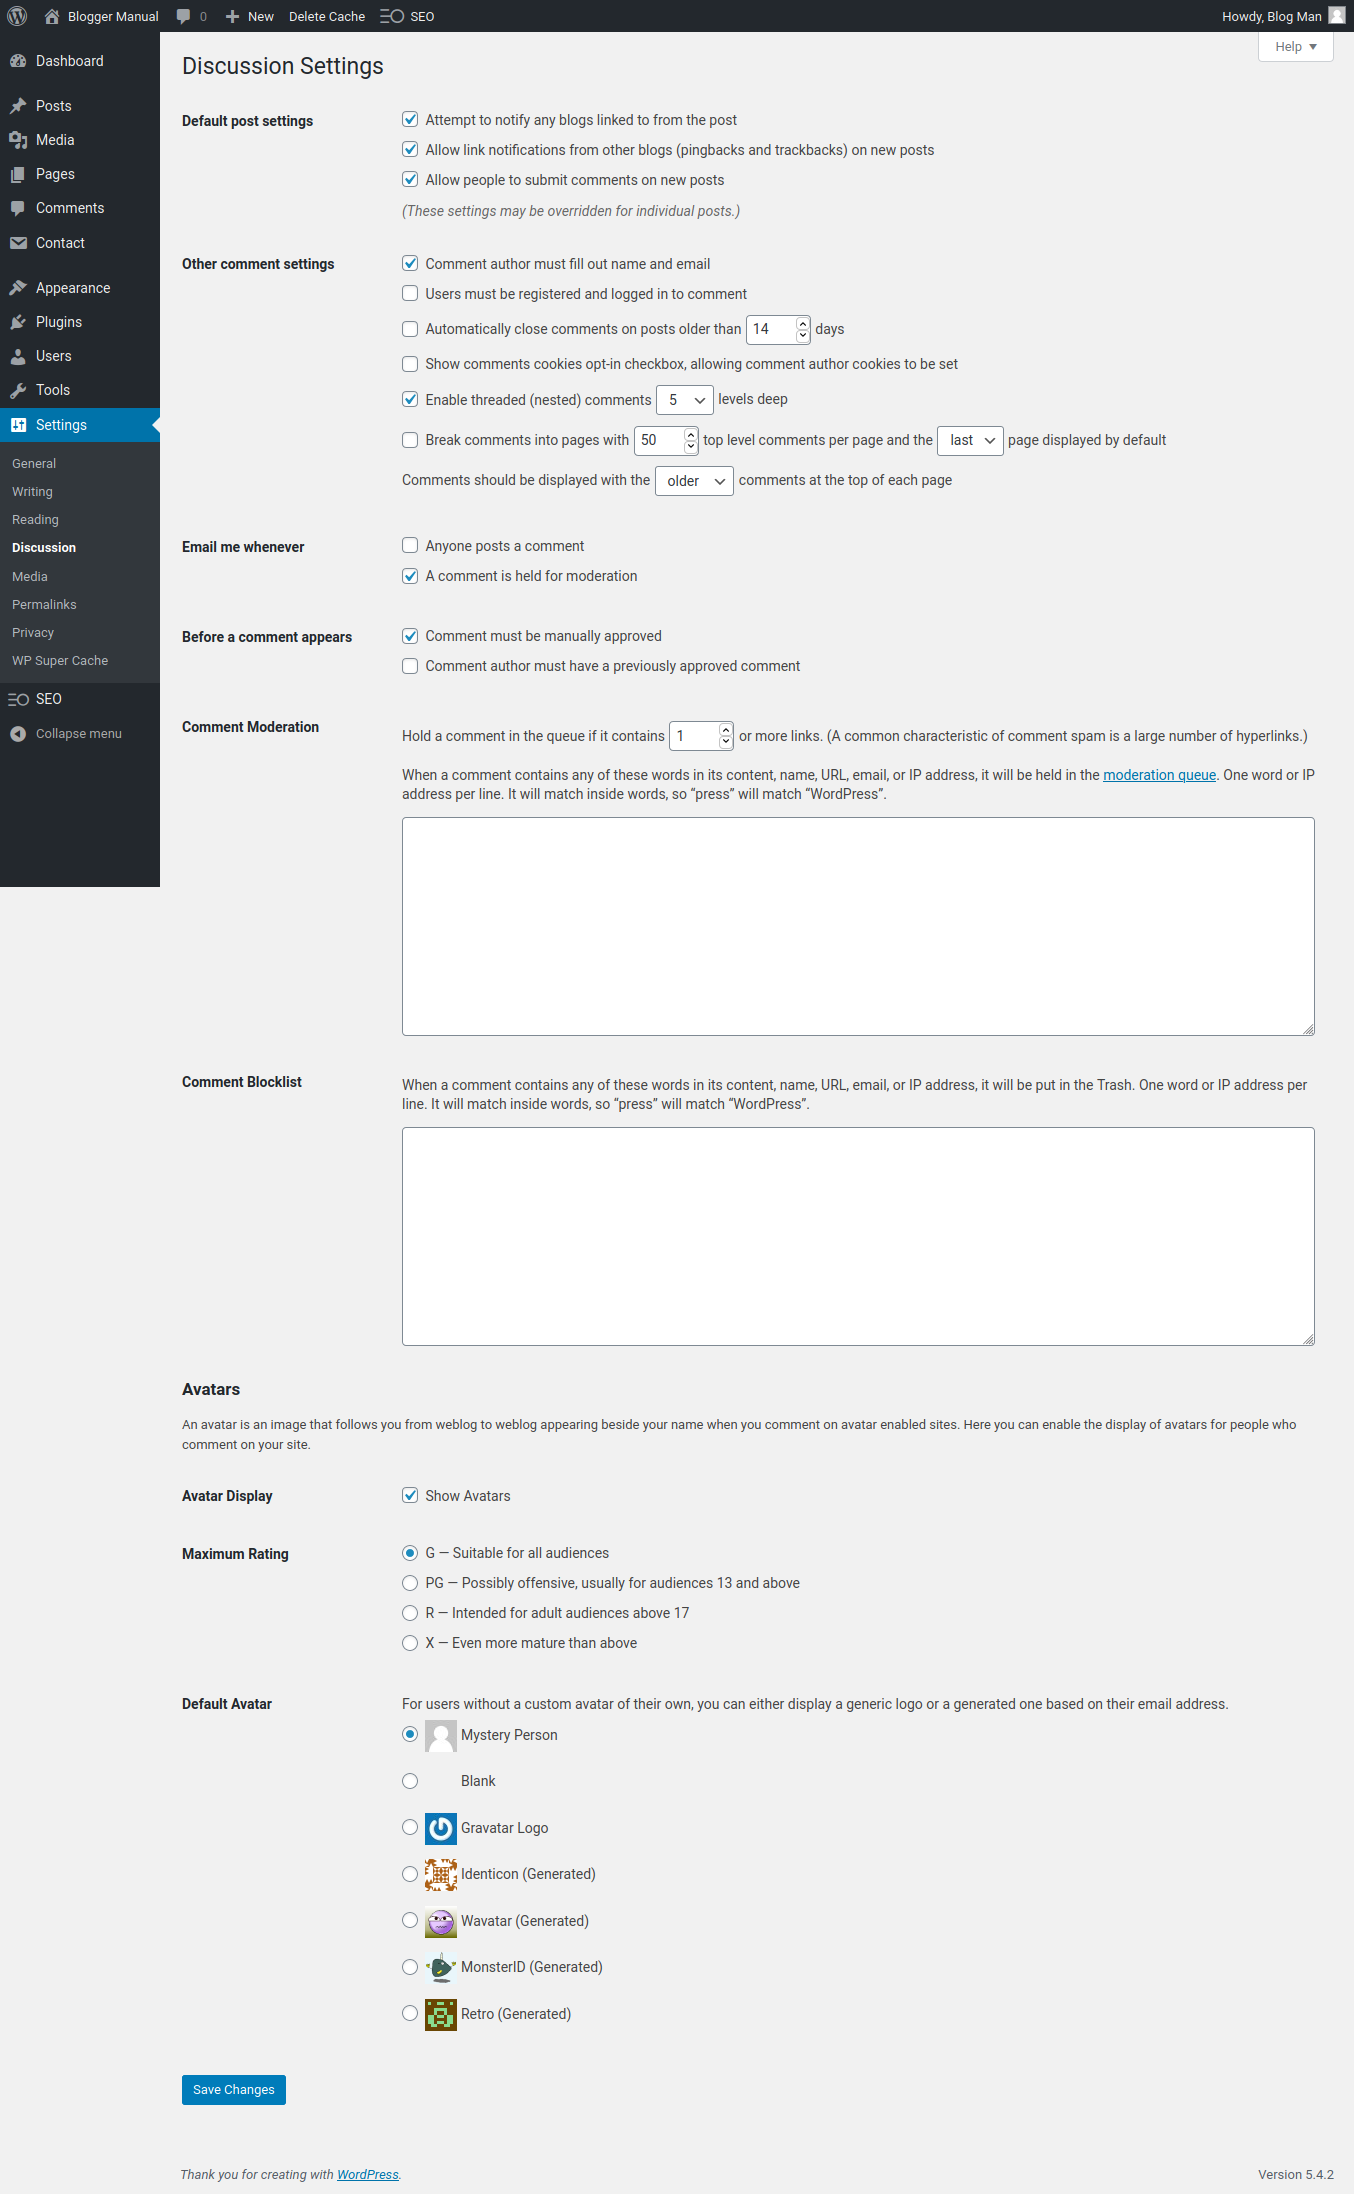
Blogs are supposed to be interactive. Hence, they have discussion systems — comments and trackbacks / ping.
Comments are for humans, while trackbacks are for websites. When you link to any blog website from your blog, WordPress will try to notify the linked site (if allowed). Like wise, WordPress will accept notifications regarding links appearing on other blogs. Such links are called pingbacks / trackbacks.
In early blogging days, blogs featured comments and pingbacks within the comments section. Now, trackbacks have lost their prominence. As it can be a nuisance to other bloggers, you can safely disable sending and receiving trackbacks.
You should set the comment moderation to manual review. Bots and humans try to post comments with links for SEO. It would help you check the comments for spam before being published on your site.
Media Settings
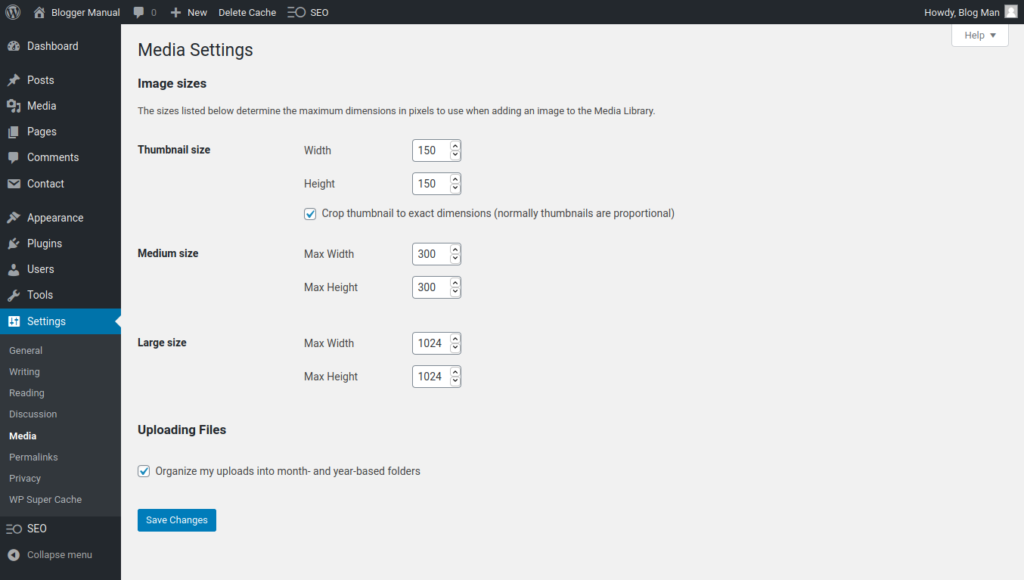
Avoid tinkering with the media settings. Changing these settings can create immediate or future problems in managing website images.
Permalink Settings
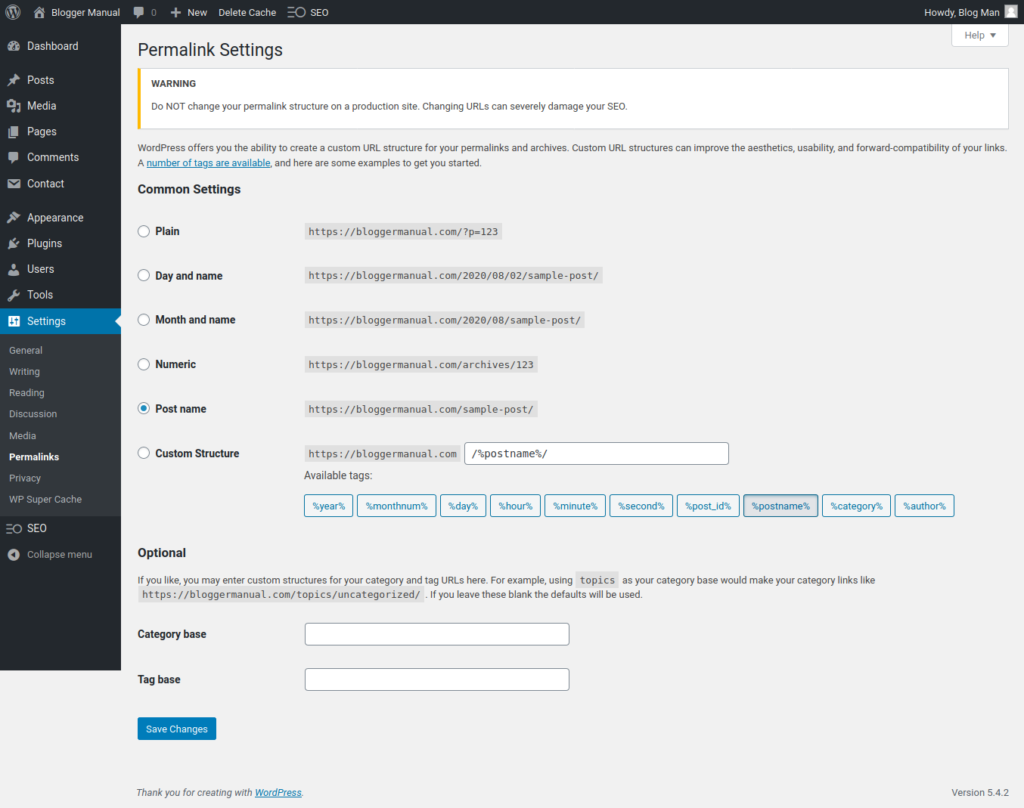
Permalink settings is important for successful blogging. Make sure that your permalink structure is set to use “Post name”.
If you are going to build a huge website / blog with thousands of posts, you need to include both “post ID” and “post name” in your URL structure. Suggested permalink for large blogs: /%post_id%-%postname%/
Why use post ID (unique numeric ID) and post name (slug) in the post URL? WordPress maintains a database table (entries) to connect slugs (post-name) with the post. If there are thousands of posts, the system will need to scan through each of them to find the right post. This puts a lot of work on the server. When the URL structure include the post ID, the search is simplified and reduces the burden. Hence, this improves server performance where the website is massive.
Privacy Settings
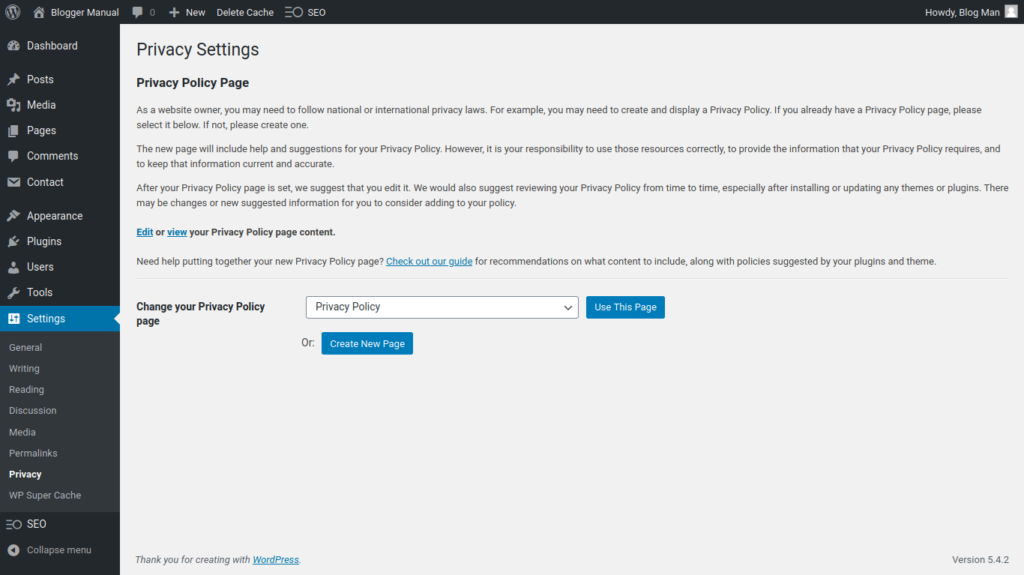
Don’t forget to define a privacy policy page for your blog. With stringent privacy laws such as EU cookie consent laws and California Consumer Protection Act, you need to have a proper privacy policy in place.
All WordPress installations have a privacy policy page created with basic text and outlines. However, it doesn’t publish it. Instead, it is saved as a draft. Click on the Pages menu, and you will find the draft privacy policy within the index of pages.
Edit the privacy policy to your liking. Make sure that you include the necessary information. Publish your privacy policy page.
Now, set this page as your privacy policy page in the settings.