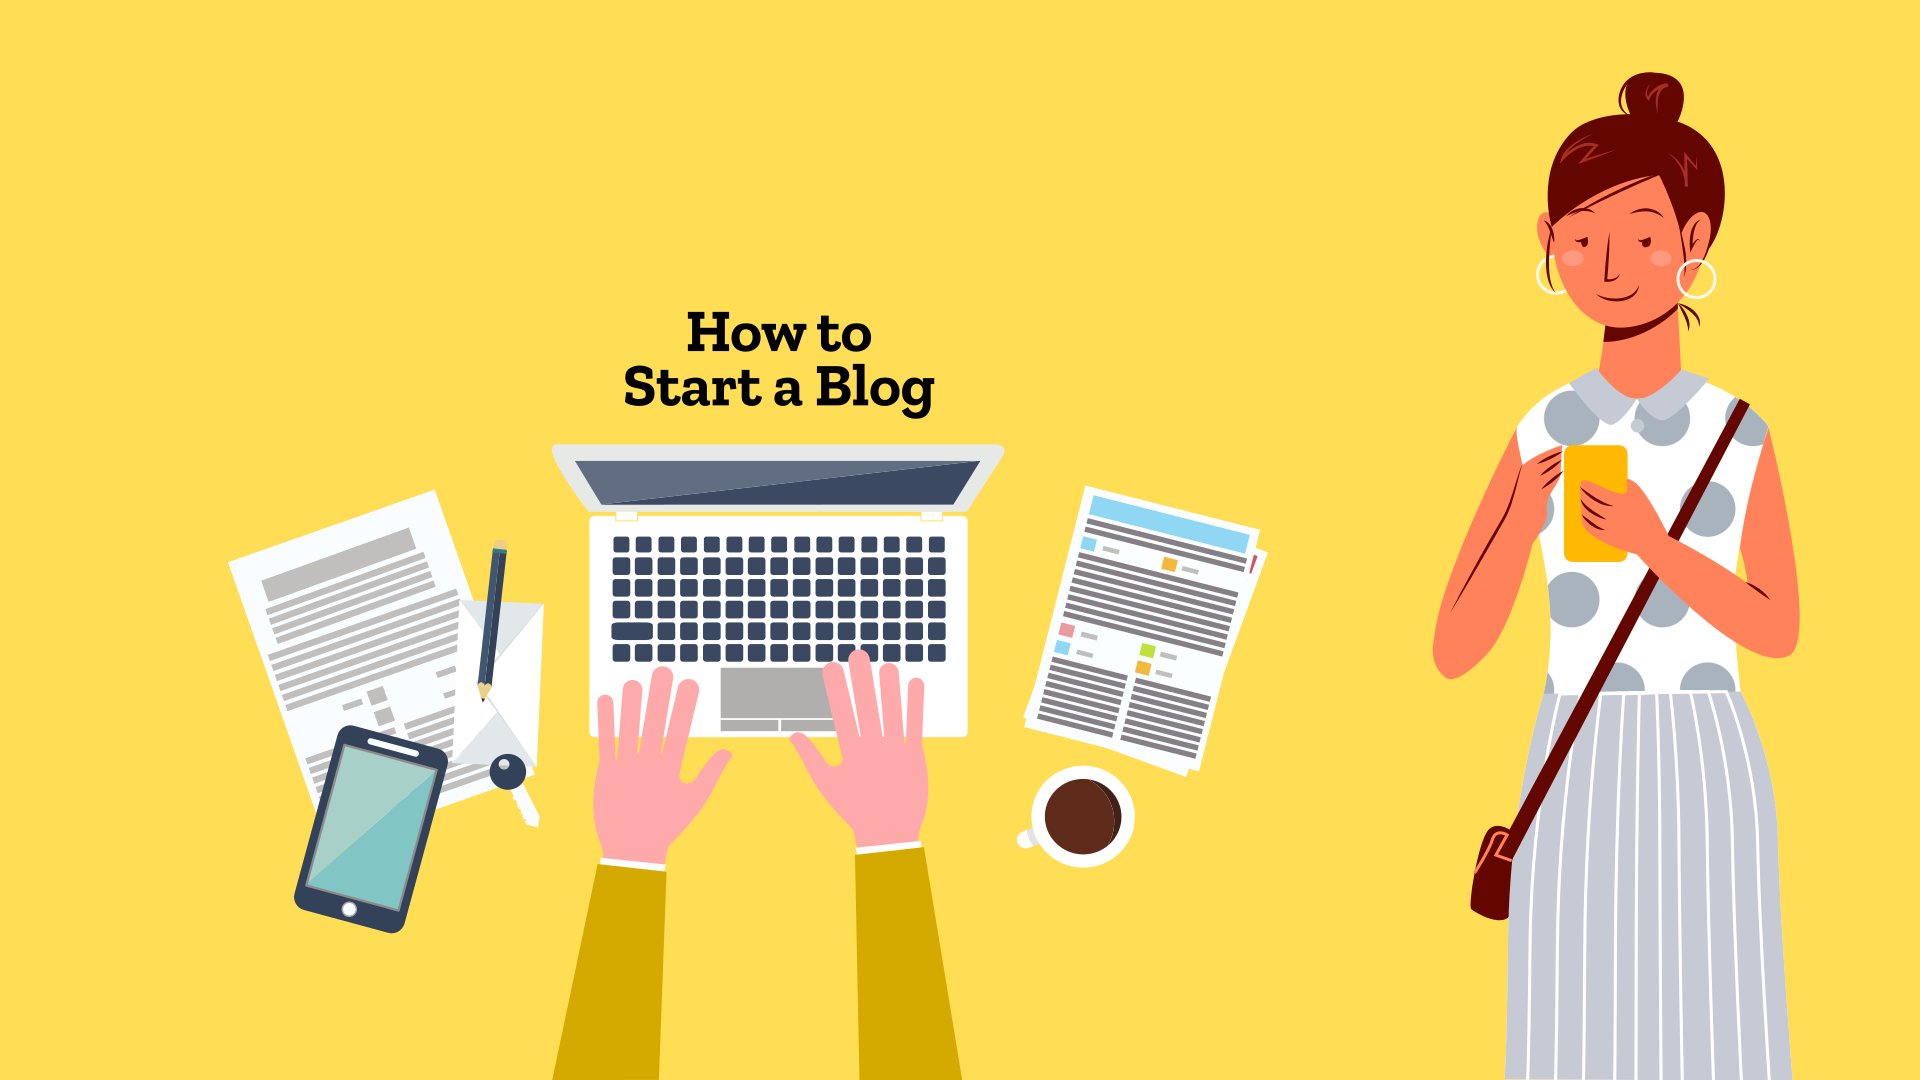
How to create a blog? Though there are multiple ways to start a blog, the method best suited for starting a money blog is — self-hosted WordPress blog website.
Years of blogging and business has taught me one thing — retain full control of your business at all times.
Free blogging platforms aren’t suited for money blogging. Your blog provider — WordPress.com, Wix, etc. — can delete your blog or snatch it from you. People have lost all their work and revenue. If you have no money, the best alternative is Blogger.com with a custom domain.
In 2024, WordPress.org (which is now asserted as a personal asset of WordPress founder Matt Mullenweg) took over control of a popular WP plugin – Advanced Custom Fields – and the developer (WPEngine, a large business) was left fuming. You don’t want to depend on a free platform to avoid hostile takeovers and fiascos.
Self-hosted website gives you the freedom to customize design, SEO, custom functionalities and run much more. All of these things make a lot of difference when it comes to generating revenue.
Let’s learn how to make a self-hosted blog using WordPress.
Blogger Manual has a series of articles on creating and growing your blog. If you have just landed on this website, you should head over to the first article in this series: what is a blog? Don't forget to read the other articles on how to pick the niche for blogging and choosing the right domain name for your blog.
Let’s Learn How to Start a Blog
In this tutorial, we are going to create a self-hosted WordPress blog with Bluehost as our web hosting provider.
Though the exact process of creating a website might differ with various hosting companies, the general process is almost the same. Most hosting companies provide one-click installation for WordPress.
Why are we selecting Bluehost for blog hosting? Bluehost is among the popular hosting companies for shared web hosting for WordPress. With its support for WordPress, you can easily create your blog without any problem. (Note: It is not the best hosting available., but it’s cheap and good enough for beginners.)
1. Visit Your Preferred Hosting Provided
Before you start, you need to select a web hosting company. It’s the place where your website files and database will be stored. It will be distributed on the internet from your web hosting.
You can pick your own hosting company. Make sure that the company provides reliable hosting with 99.9% uptime for your websites.
One of my favourite hosting companies for cheap shared hosting is KnownHost → go to their shared web hosting page. You can also choose WordPress hosting, though I always prefer standard hosting packages. (When you use my affiliate link to buy hosting from KnownHost, I get a paid while you get a discounted price.)
Avoid the popular hosting companies that have been able to dominate the hosting landscape via smart marketing. Some of the hosting companies that I don’t recommend include: GoDaddy (avoid at all cost), Bluehost, Hostgator, Hostinger, HostRipples, FatCow, etc.
2. Select Hosting Plan
Pick the hosting plan based on your requirements. Irrespective of the plan, your website will be run smoothly. The primary difference between the plans is the number of websites allowed.
If you are low on cash or have not plan to create multiple websites, pick the starter package. Alternatively, you should pick the hosting package which allows hosting multiple websites.
NEVER register your domain with the hosting provider. Keep your domain, DNS and hosting separate to avoid issues.
Pro Tip: If privacy and control matter, register your domain(s) with Godaddy, Namecheap, Namesilo, Spaceship, Cloudflare or any domain registrar of your choice. Avoid your web hosting company for registering your domain.
3. Add Domain Name
Domain name is your blog’s address. You should take your time to find the right domain name for your blog. Go to your preferred domain registrar and search for the desired name. You will see whether the domain name is available or not. Once you find a unique and catchy domain name, you can register the domain and continue the process of buying web hosting.
Already have a domain registered? You can use your existing domain name with your hosting company. Enter your existing domain into the “Use a domain you own” box. You can register your domain with the hosting company, but that’s not recommended.
Trouble finding the right domain name? If you cannot come up with a great name that’s available, click on the link that says “I will create my domain later.”
4. Register with Bluehost
After you have selected the domain name and the hosting package, complete the registration and purchase process. Fill in your personal details manually, or you can Many hosting companies allow you to sign-up with your Google account.
Scroll down and select an account plan or duration of the hosting package. Most hosting companies offer 1-month, 3-month 12-month, 24-moth, and 36-month packages. For the first order duration, you might also get a discounted price.
KnownHost provides you with a discounted price for the first term and you save the most by paying for 3 years at once.
You get the best deal with 36-month package, while the 12-month package reduced your immediate payment. If possible, take the 36-month package to avoid higher renewal prices for the next two years.
Some hosting companies try to upsell extra add-ons. Uncheck all the boxes for extras. Hosting companies want to rake up a bigger bill, but you can reduce your upfront cost without compromising on your website functioning.
You can always get the extra services any time when you find the need for it. For now, strip all the extras to minimize your cost.
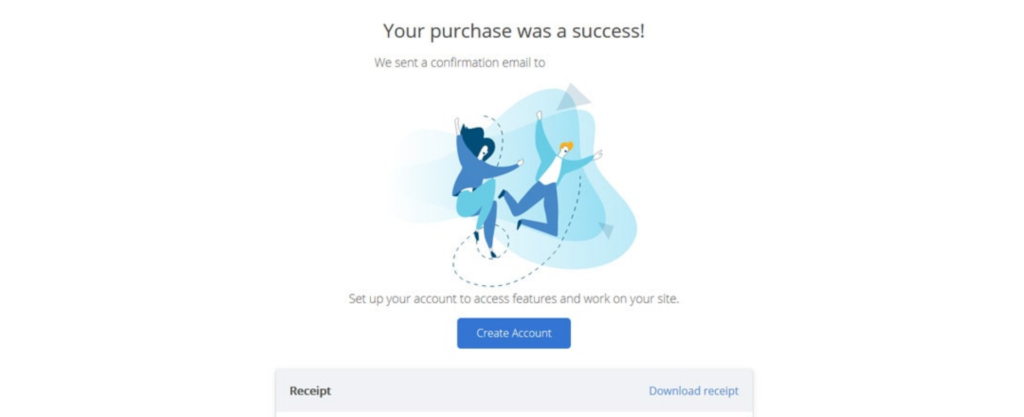
Paying for your hosting: Once you have selected everything, time to make the payment. You can use credit card or pay by PayPal or any other suitable method, click on the more payment options link.
On successful payment, you will receive a success message on-screen. Your hosting company will send you a confirmation email once the payment is successfully processed.
The hosting company will provide necessary information, including cPanel/hosting dashboard login information, Name Servers and IP address, for your hosting service via email.
If you opted to use an existing domain, you will have an email to verify the domain ownership via changing the name servers.
5. Install WordPress & Create Your Blog
Once you have successfully purchased the hosting package, it is time to install WordPress, the most popular blogging platform for finally creating your blog.
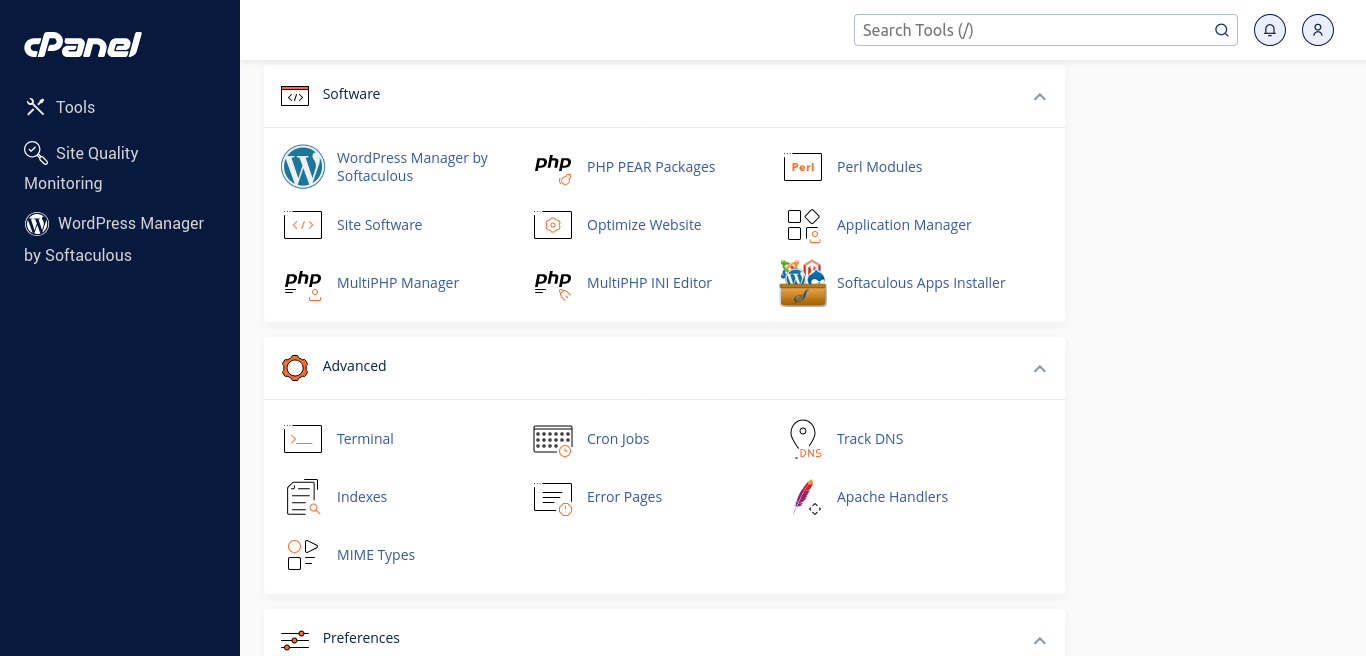
Using the credentials provided by your hosting company, log into the hosting control panel, which is often cPanel. Located the WordPress installer in your hosting dashboard. Follow the wizard to easily install your WordPress blog.
With self-hosted WordPress blog, you can access its admin dashboard directly by typing the URL of your blog domain and affixing it with /wp-admin/ or /wp-login.php. If your blog’s address is https://awesomeblog.com, you can access WordPress dashboard at https://awesomeblog.com/wp-admin/. Your WordPress admin username and password are different from your web hosting account.
Manually Install WordPress in cPanel
- Download WordPress
- Visit WordPress.org and download the latest version of WordPress as a ZIP file.
- Upload WordPress Files
- Log in to your cPanel account (web hosting control panel).
- Navigate to File Manager → Open the public_html folder (or a subdirectory for a specific site).
- Click Upload, select the WordPress ZIP file, and extract it in the desired directory. The files will be unzipped in a “wordpress” sub-folder. Enter the sub-folder, select all files and folders, and move them to the parent directory (or the correct directory for the website).
- Create a Database
- In cPanel, go to MySQL Database Wizard.
- Create a new database and user, assign all privileges, and note the database name, username, and password.
- Run the WordPress Installer
- Open your web browser and navigate to your domain (e.g.,
yourblogaddress.com). - Follow the on-screen instructions to complete the installation. You will be asked to provide the blog’s name, administrator email, database host name (usually localhost, unless your hosting company says something), database name, database username and database user password. Once you provide all information correctly, the blog will be installed.
- Open your web browser and navigate to your domain (e.g.,
Congratulations! You have successfully installed your WordPress blog.
Access your WordPress dashboard at yourblogaddress.com/wp-admin. Now, customize your blog design by installing a nice theme, add plugins, delete dummy posts and pages, and add basic pages such as “About”, “Contact Us”, “Terms & Conditions” and “Privacy Policy”.
Don’t forget to check the WordPress blog settings, and set up your new blog site properly.
Your blogging journey has just started. Let’s continue our learning and get to know about content planning, search engine optimization, blog promotions, monetizing your blog and much more.
Don’t forget to share your blogging journey and experience with Blogger Manual. We are on Facebook, Twitter, Instagram & Pinterest @bloggermanual
Got any question or need help? Don’t hesitate to contact us via the contact page on this website or our Facebook page. Send us a private message, and you will hear from us for sure.